
It’s time to reframe how we think about building homes in New Zealand.
Innovation
Sustainability
Research and Development
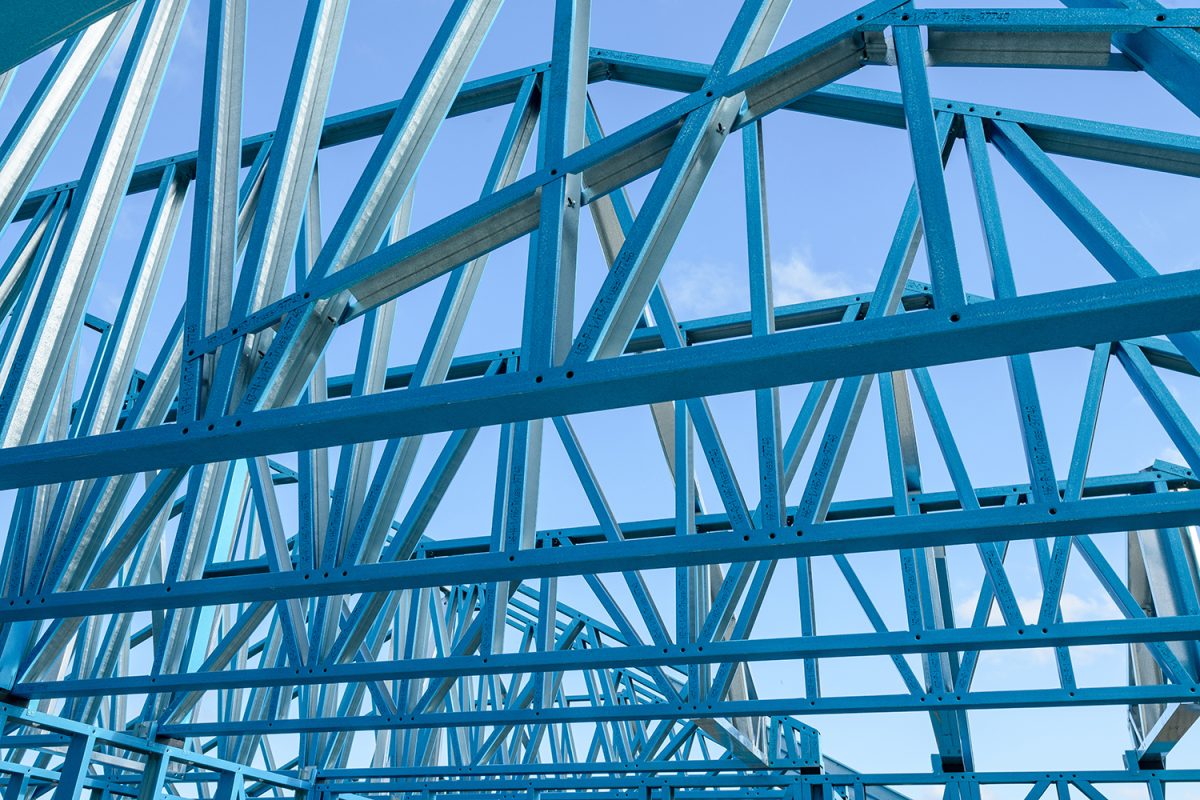
Steel is ubiquitous. From the roof over our heads to our household appliances, in everything from transport to tools, railings to railways, it is one of the world’s most essential and innovative materials.
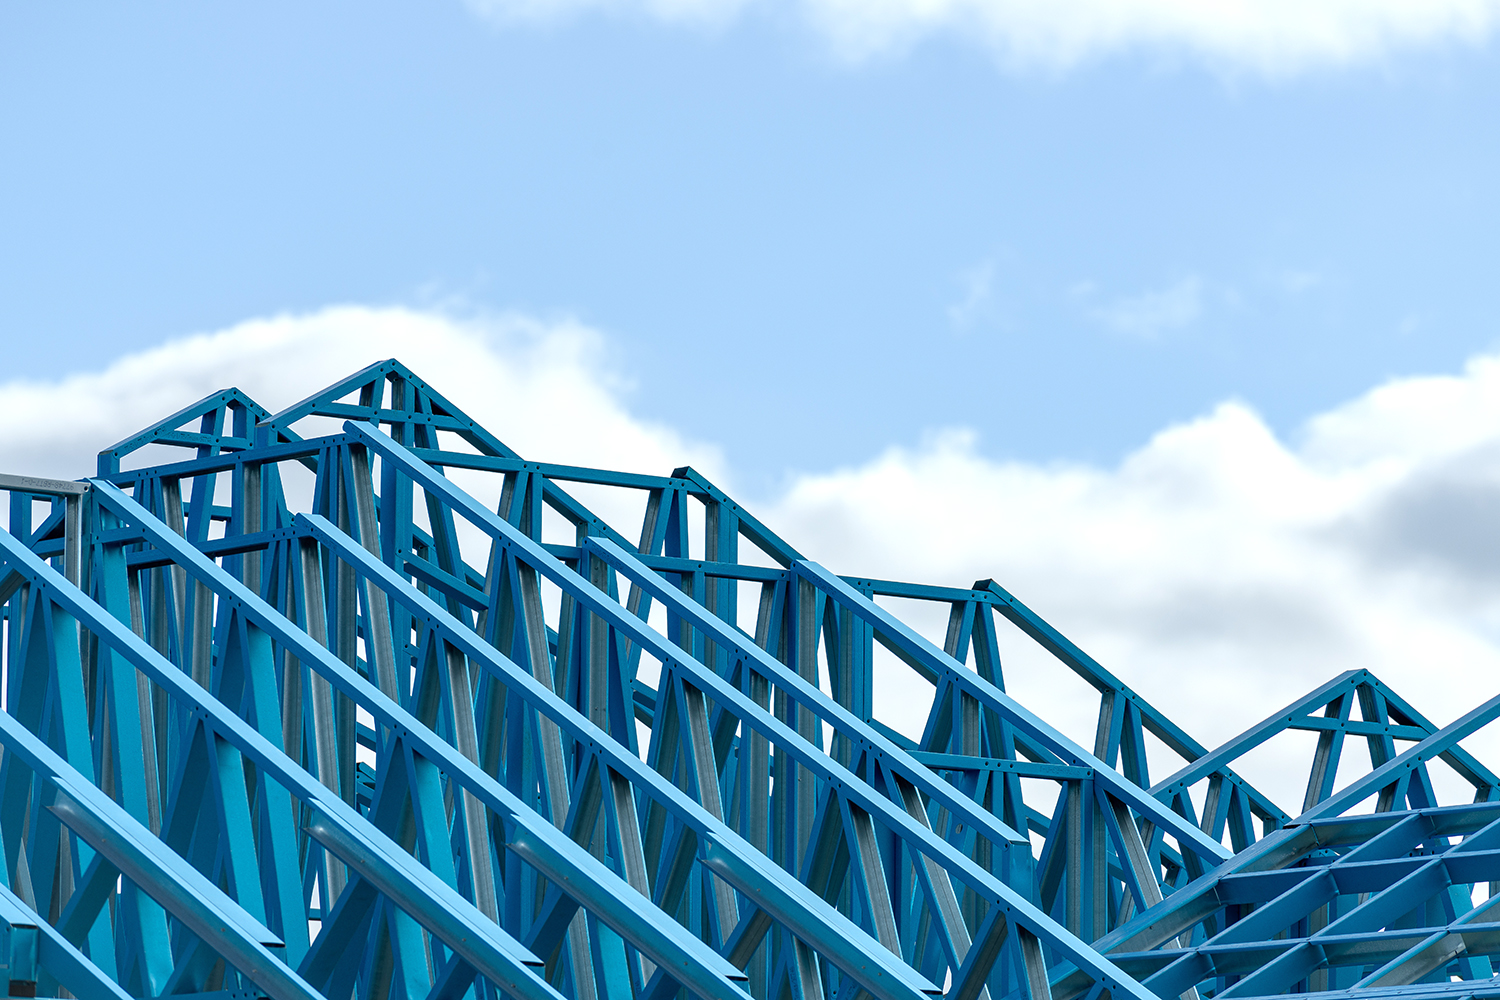
So too is it synonymous with strength. It is why steel is used in our buildings, bridges, and boats. When performance is vital in the toughest conditions, steel remains true and strong. Cold Formed Steel (CFS) is almost one third the weight of comparable wooden structures, reducing transport costs to site and delivering greater manufacturing and construction efficiencies.
Non-combustible, earthquake resilient, infinitely recyclable, extremely strong, and exceptionally light, steel is the ideal material for efficiently building strong, adaptable, and cost-effective housing in New Zealand.
Designing using steel
Going beyond the everyday.
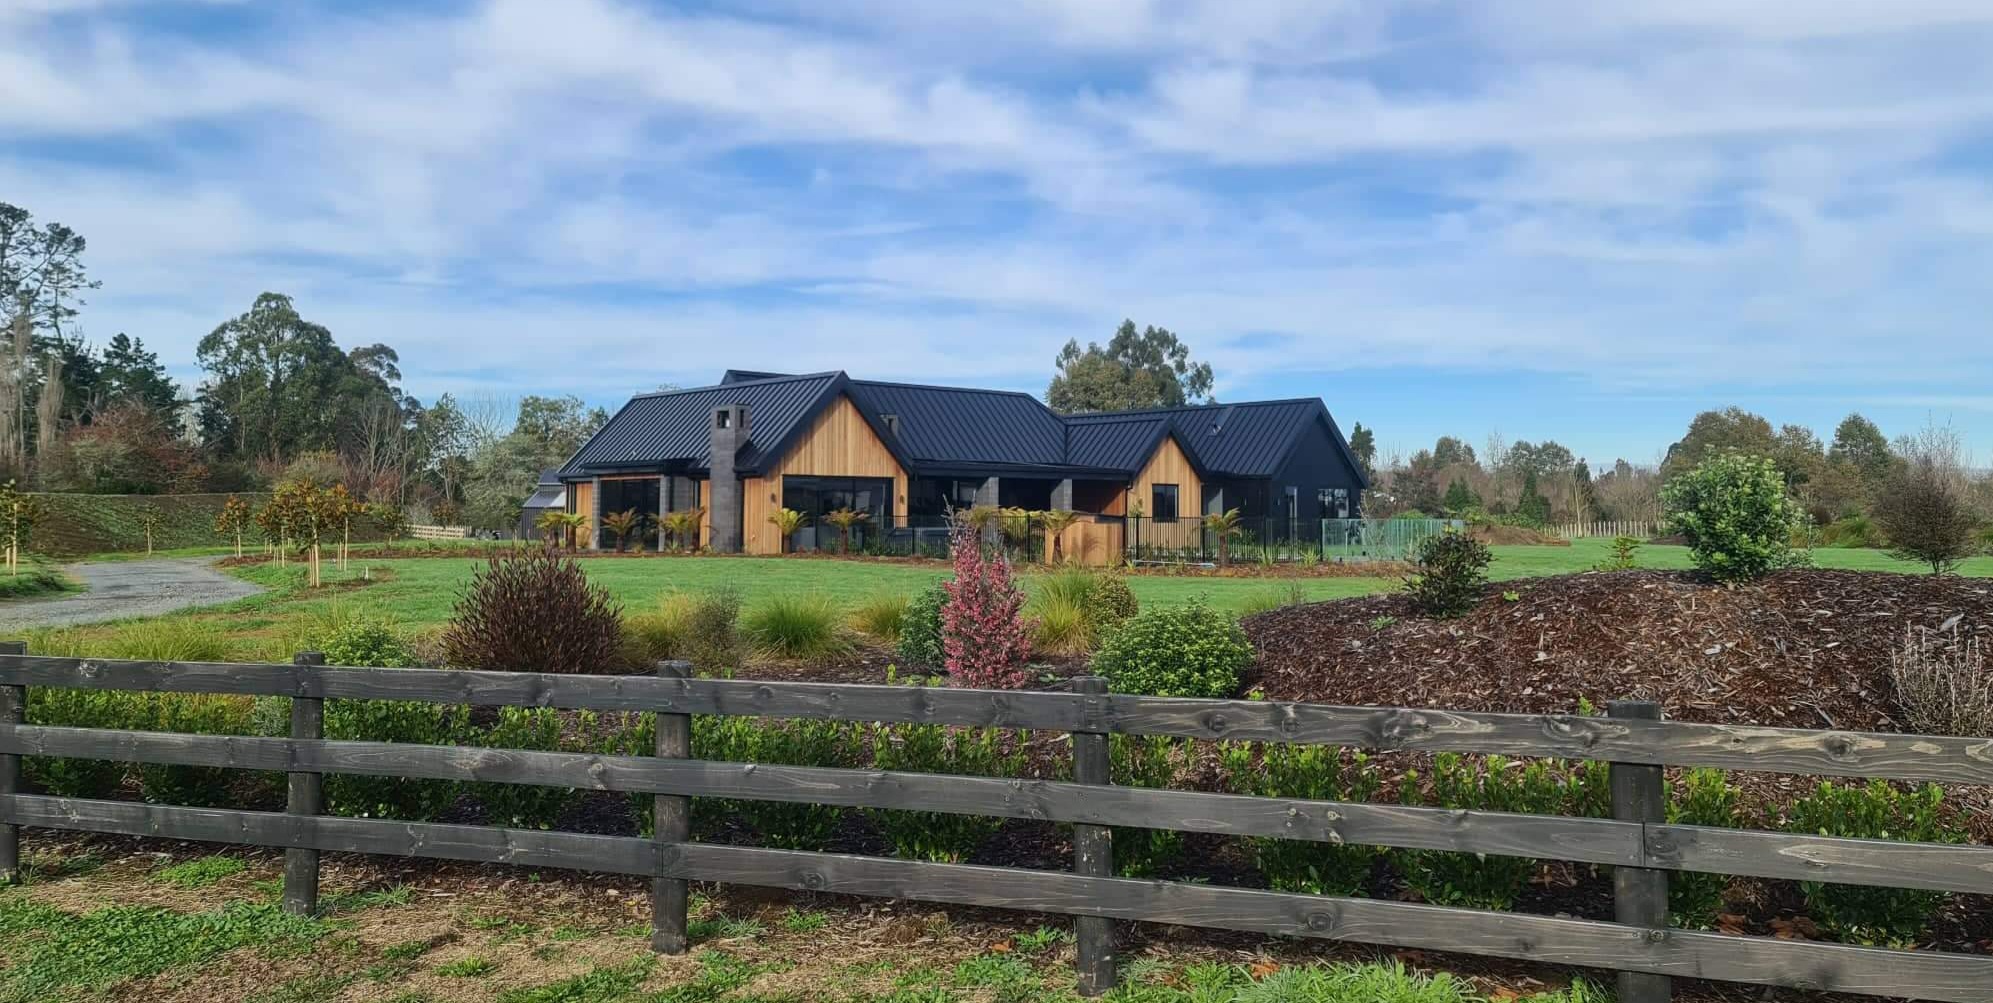
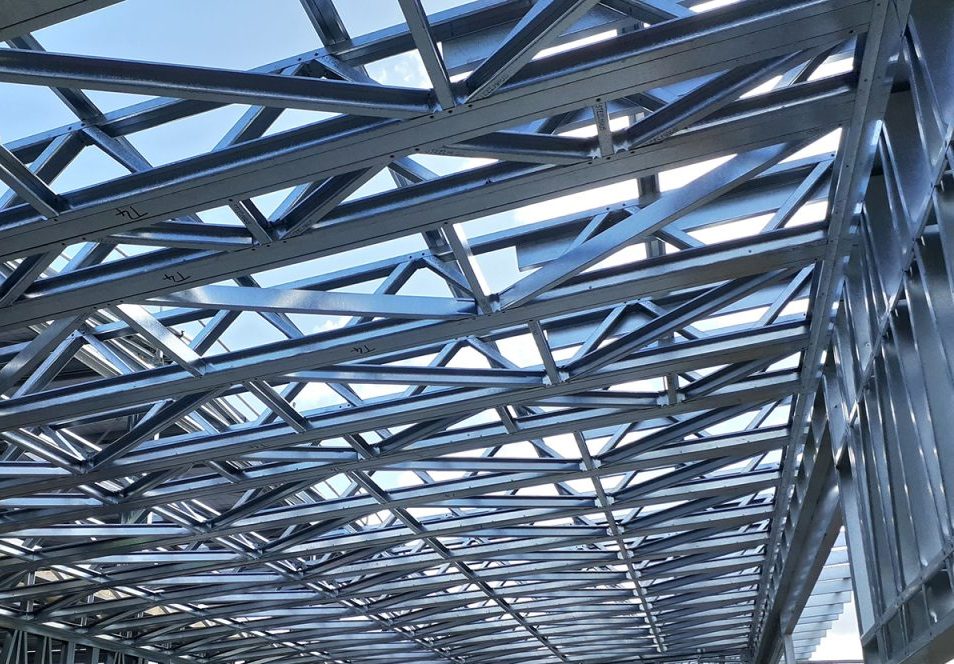
The computer-aided design and manufacture of steel-framing makes it easy to specify buildings of almost any style and floor plan, and steel fabricators and their design engineers can assist every step of the way. With clear frame and truss detail drawings, and engineering certificates and documentation for consent applications and code-compliance, the planning process is simplified and stress-free.
This makes steel farming perfect for creating open spaces, innovative building shapes, non-conventional roof lines, and building on sloping or difficult sites. In this way steel enhances the creative vision of architects, delivering them the freedom to create distinctive, highly individualised buildings.
Manufacturing with steel
Control and precision.
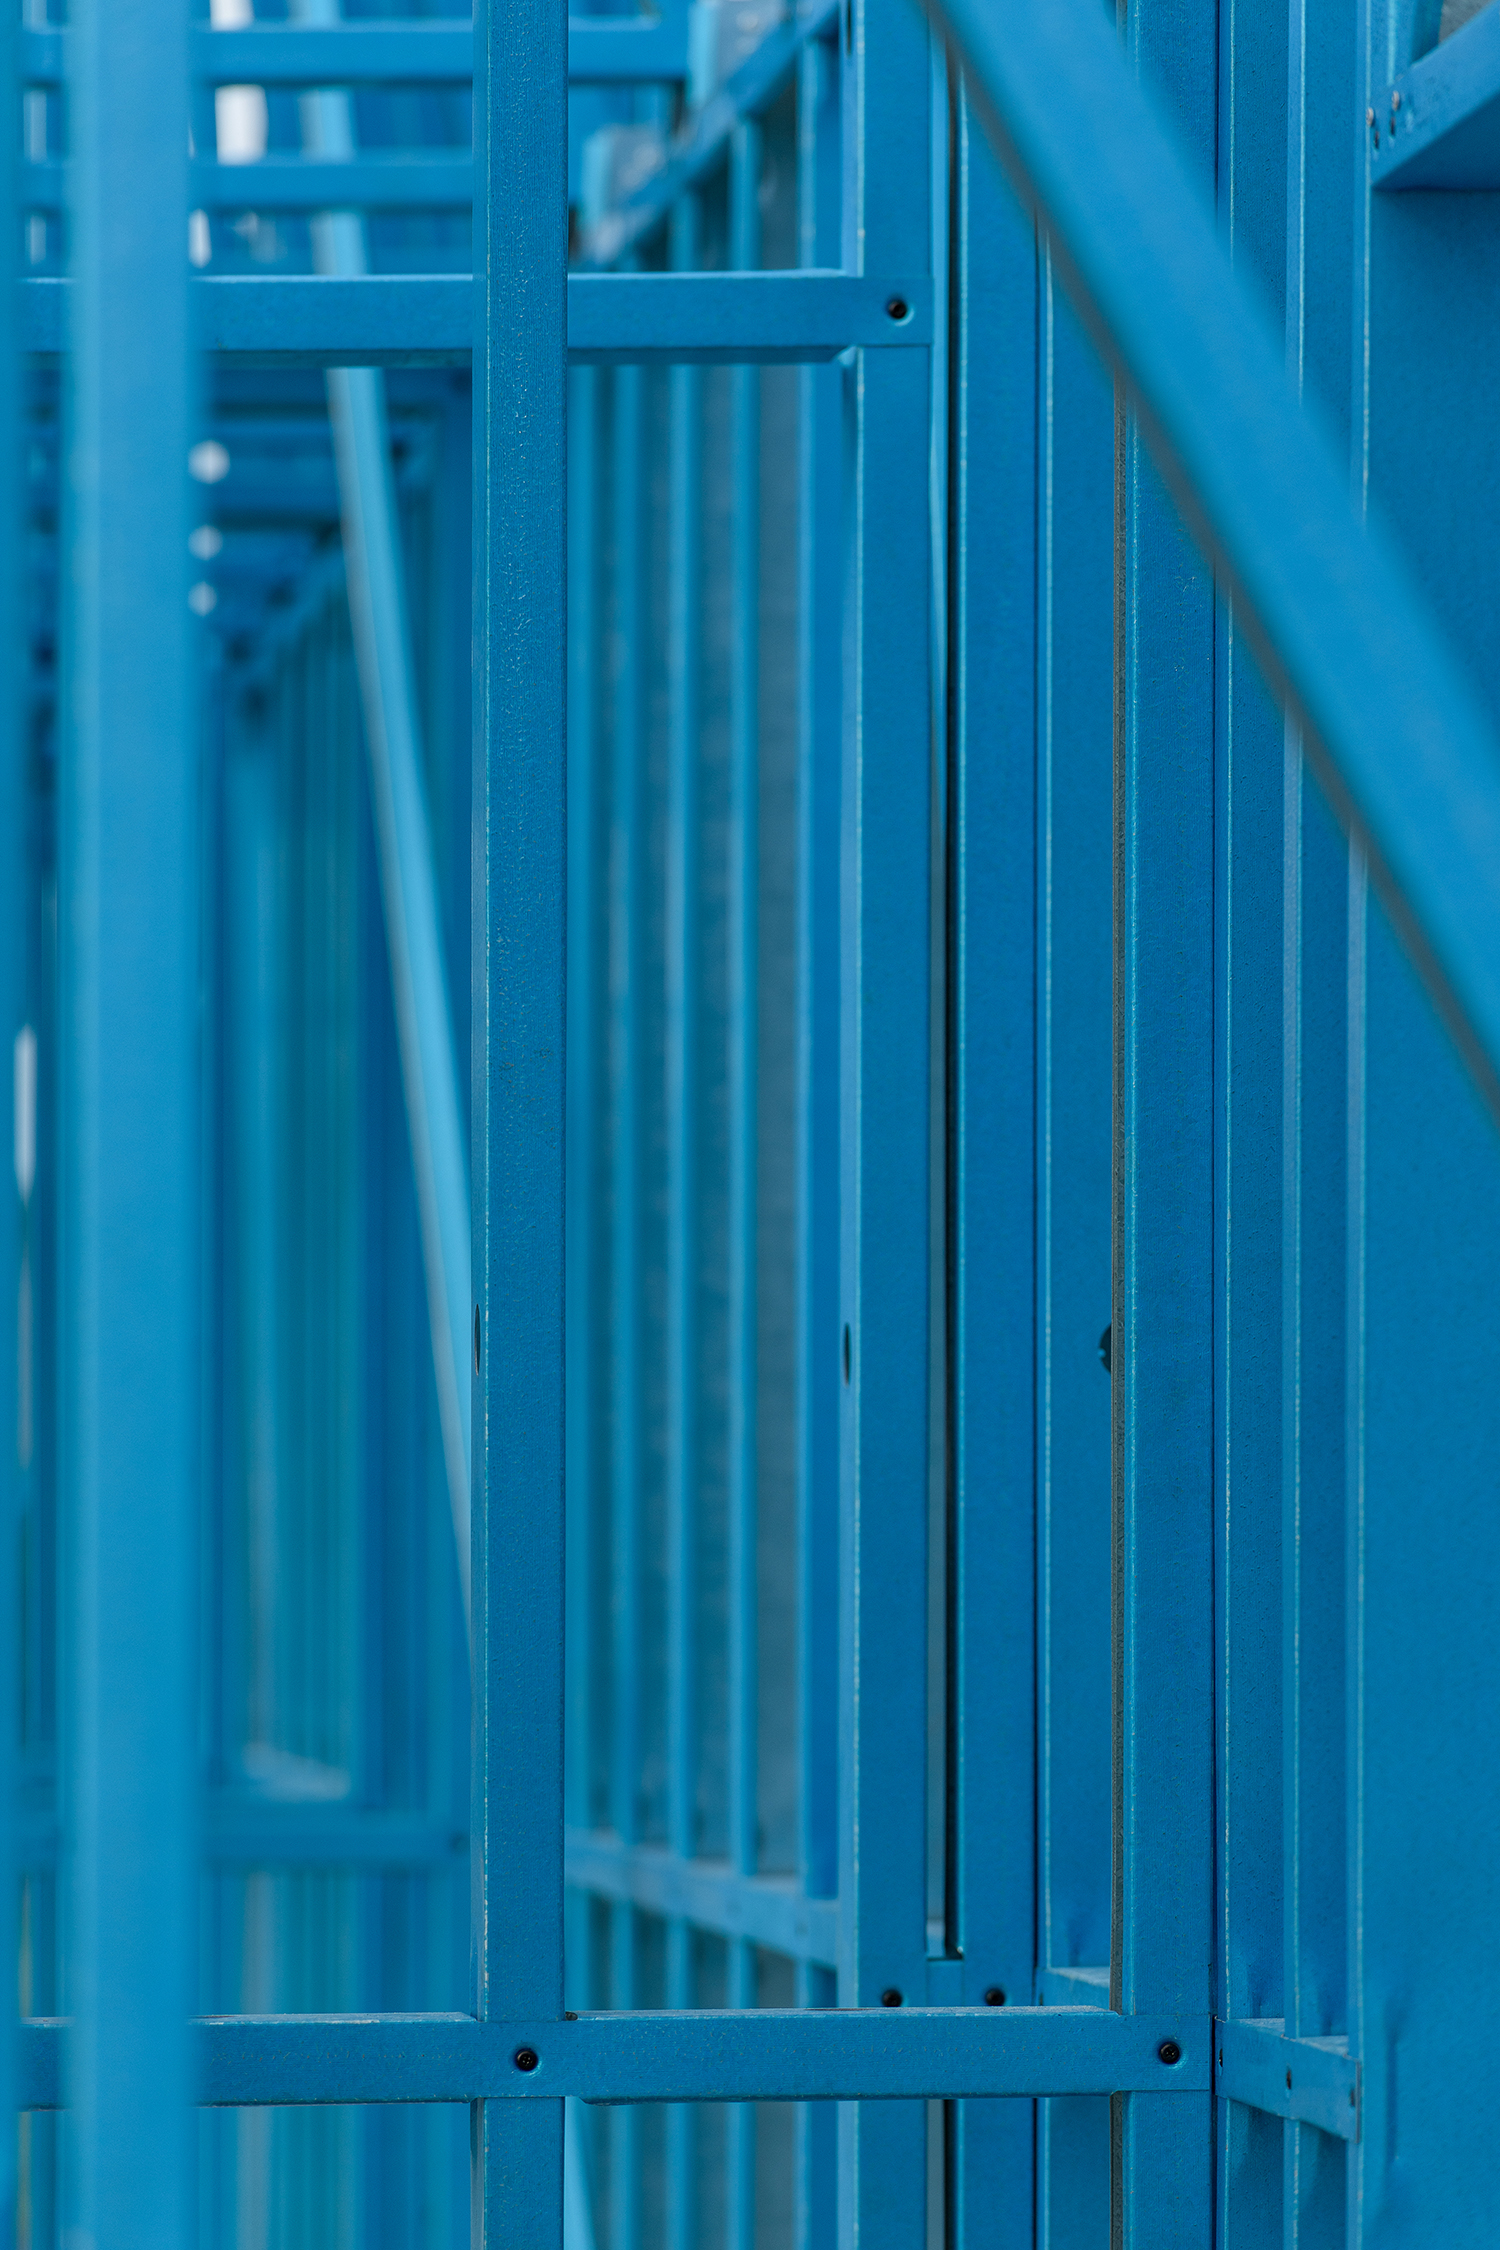
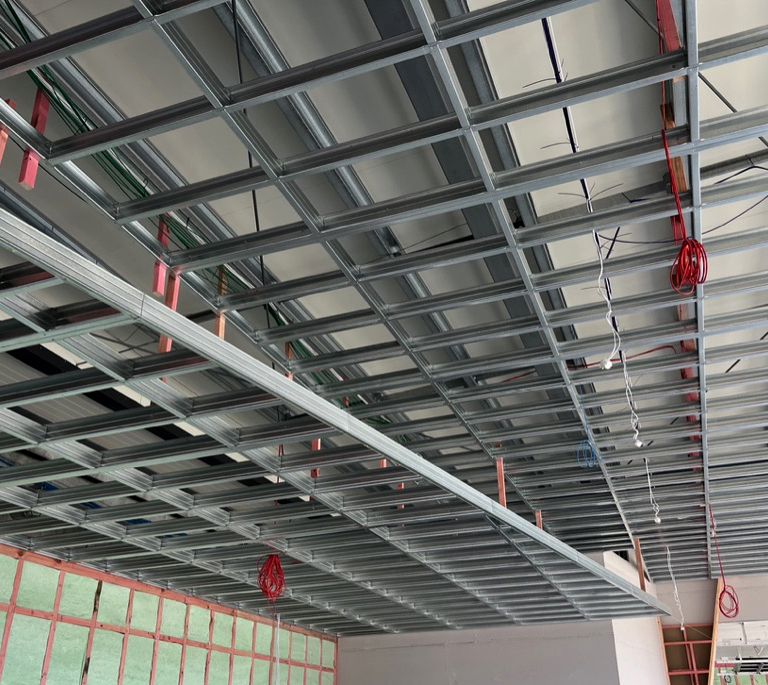
Steel framing is produced using precision computer-controlled production which optimises structural strength and reduces waste both throughout the production stage and during on-site construction.
The efficiency and speed in manufacturing is of considerable benefit during building – especially as steel does not absorb moisture meaning there is no delay waiting for frames to dry.
Building in steel
Fast, easy, effective.
It’s simple – working with steel-framing is fast and easy. Most steel-framing fabricators provide both supply and installation services. Frames also come with service holes pre-punched to keep things easy for sub-trades.
Longevity of steel
Building once and building right.
As steel is isotropic it has the same dimensional properties in all directions. Since there is no ‘grain’, the strength of steel is the same up and down, side-to-side, and in all loading directions. Steel, does not warp, shrink, or crack in normal loading and framing applications. It stays true to form through the most challenging of conditions.
Wellbeing with steel
Creating a better tomorrow.
The enduring healthiness of New Zealand homes has been increasingly focused on in recent years for good reason. Safeguarding future generations starts and ends at home. Steel doesn’t support mould growth or rot and it won’t accommodate termites or other insects. Nor does it contain additional preservative chemicals, give off harmful gases, or emit volatile organic compounds. Instead, steel provides decade after decade of steadfast service without compromising the health of those protected by it.
Sustainability of steel
The big picture.
Understanding the big picture of steel production, lifespan, re-use and renewal is vital when it comes to properly assessing the sustainability strengths of this important material.
While the initial embodied energy required to produce steel is relatively high, the full life cycle impact of the product is far lower than comparable materials.
All steel frame is 100% recyclable (and a valued commodity). Nor does steel framing require additional preservative chemicals and, as it is pre-manufactured, there’s no waste during construction too.
Smarter sustainability approaches require consideration for both here and now and the generations to come. With common sense and continued innovation in steel production, design, and construction, New Zealand can advance today and uplift tomorrow.